Thursday, March 26, 2015

Jam Drops

Hey there!!


 Serving up afternoon tea for you guys today...how's that for a bit of bloggy service??!


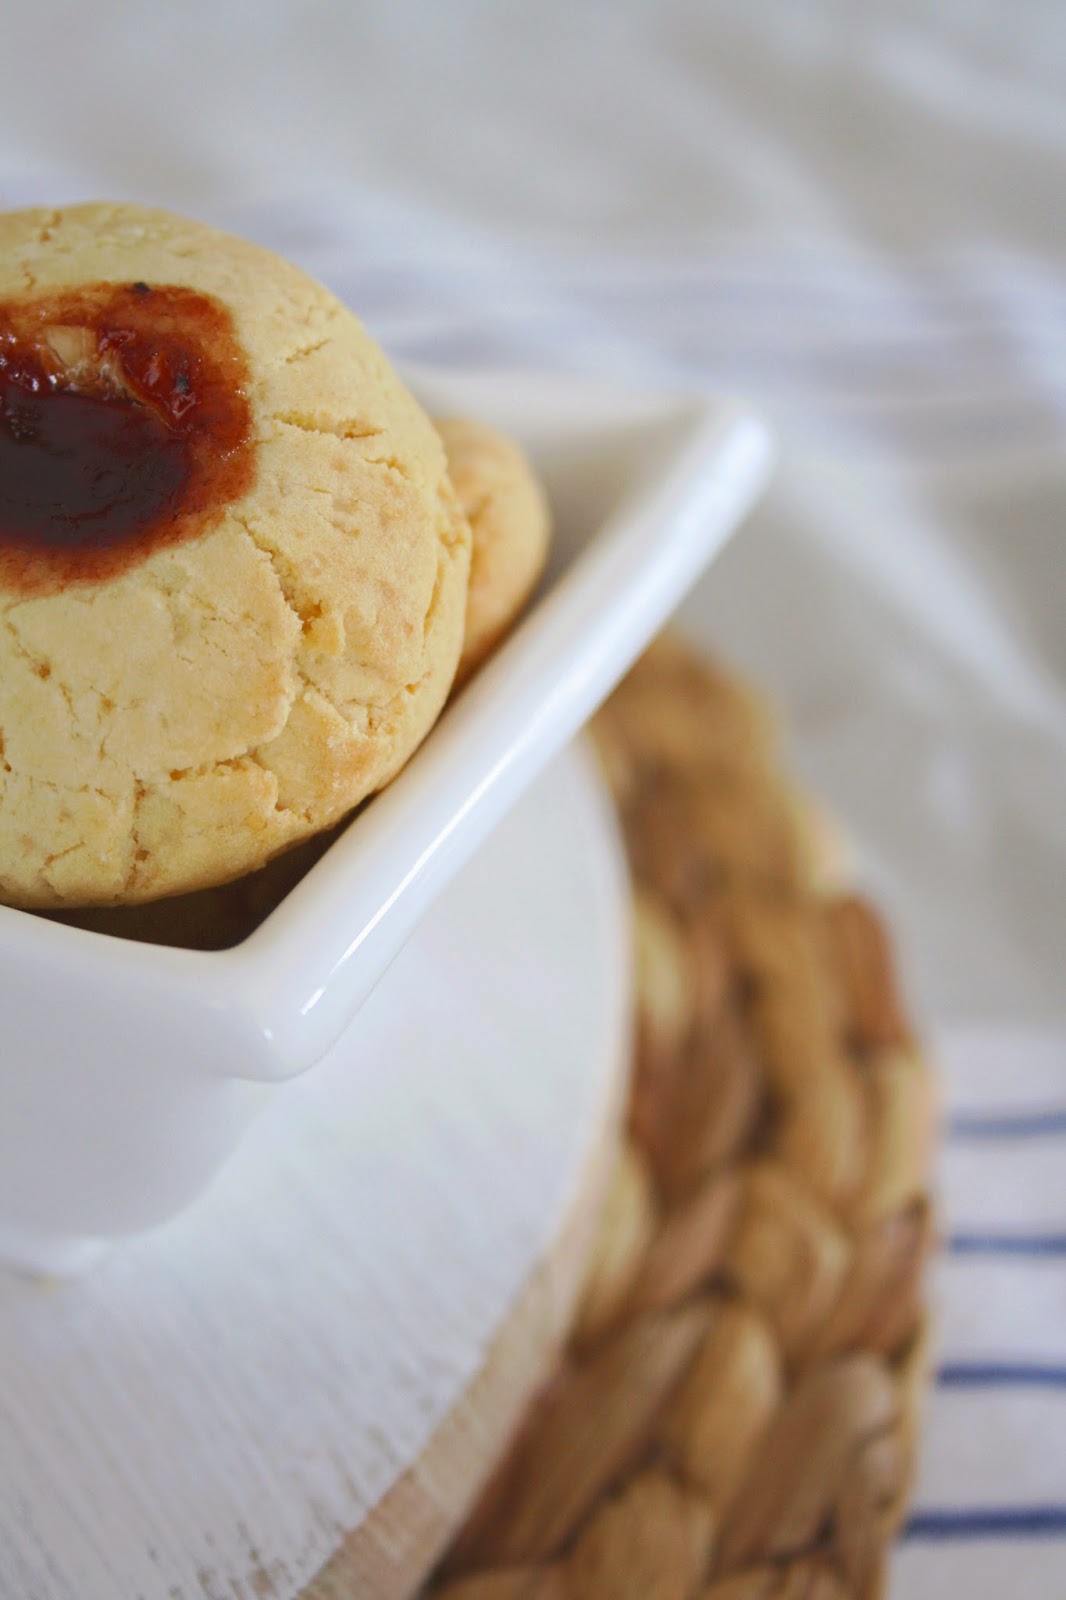
We have good old fashioned Jam Drops going on here today...so please...do come on in!!!


                                                                    Jam Drops


Ingredients

115grams butter...softened
1/4 cup sugar (I choose raw)
1 egg
2 teaspoons honey
1 cup SR flour
1/2 cup plain flour
1/4 cup cornflour
Jam...I'll let you choose your own flavour...I used a natural strawberry jam


Method

Preheat your oven to 170-180 degrees

Beat together the butter and sugar

Add your egg and honey and beat some more

Sift in your dry ingredients and stir through

Now take off all of your diamond rings and roll the mixture into small balls

Place on a greased/lined baking tray and make a small dent in the top of your biscuit...I just use my finger...

Fill each little dent with jam then toss into the oven for approx 12-15 minutes

Once done allow them to cool for a few minutes on their tray then transfer them over to your cooling rack

Eat with a piping hot cuppa...preferably in front of an open fire...slippers optional...snuggly blanket not.....


Happy Baking folks!!!


                                                                                   Janelle  xx

Tuesday, March 24, 2015

Tuesday......

Hey out there!!


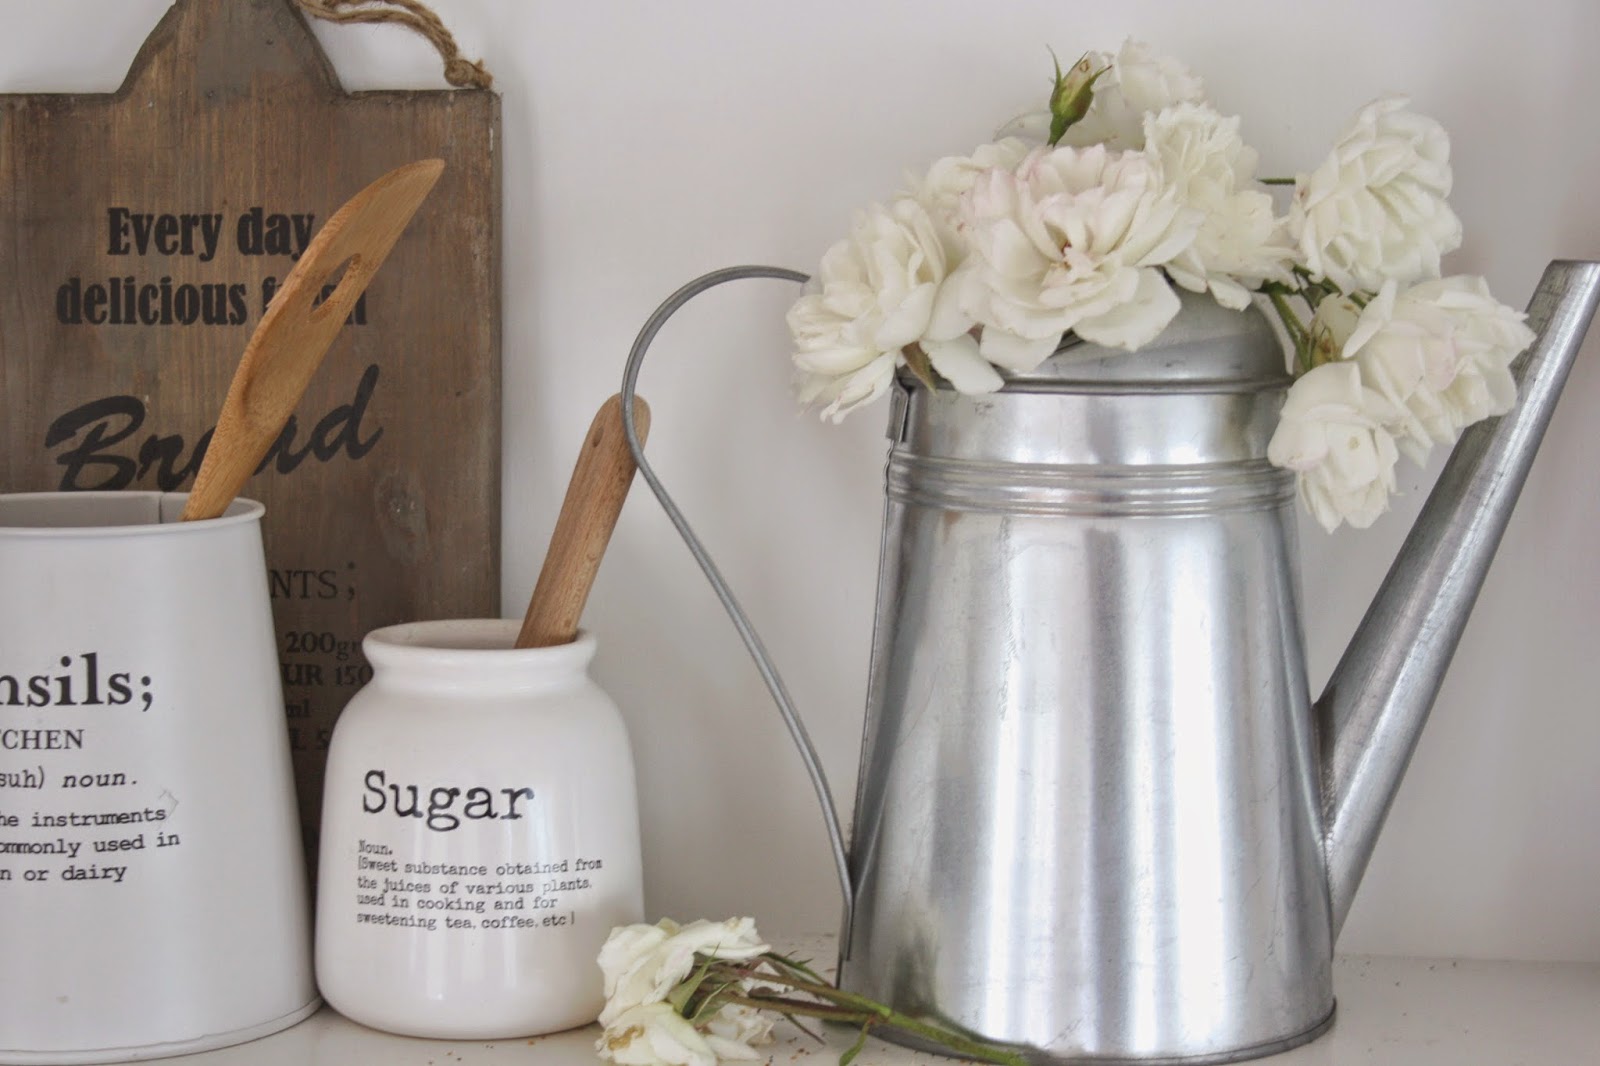
Just a few random pics from my kitchen mantle today...I love the simplicity of all this...the last of our home grown roses slowly drooping in their cheap-but-oh-so-very-cheerful Ikea watering can...hanging out with a few bargain finds and my picture-of-the-month which I love to read everyday because it's just a damn good reminder to make everyday AMAZING!!!


I'm now off to scour the pantry for some baking inspo...it's kind of chilly here today...being the total sook that I am I have just lit the fire (is there anything better than lighting those first few fires of the season?!!) and feel the need to totally cosy the place up with a warm and delicious smelling oven!!


Have a fab day peeps...back soon with any baking inspo I may find...


                                                                                      Janelle xx

Wednesday, March 18, 2015

Vanilla Shortbread Biscuits

Hi there!

So..the other day I shared a picture on instagram (I'm a awhitestyle over there :)) of a batch of biscuits I had just whipped up - as you do - and apparently a few people would like the recipe...

Always happy to oblige...here it is!!!


                                                      Vanilla Shortbread

Ingredients

185 grams butter - softened
1 teaspn vanilla extract
1/2 cup icing mixture
1 cup SR flour
1/2 cup Plain flour
1/2 cup custard powder

Method

Preheat your oven to 150 degrees

Throw the butter, icing sugar and vanilla into a bowl. Beat until all is pale and lovely.

Sift and stir in your flours and custard powder.

Roll into smallish balls and kind of flatten a little as you place them onto your greased/lined baking trays.

Now you can either make a pretty pattern on the top by pressing with a fork if you won't be icing them later

OR

Just throw into the oven for approx 12-14 minutes.

Once out let them cool slightly before popping them onto your cooling rack to cool down completely.

Ice when cold with vanilla icing. Colour, sprinkles etc all completely optional of course!!

Now...Enjoy!!!


Let me know how you find these. They are always a winner around these parts ;))

Happy Baking Peeps......


                                                           Janelle xx

Sunday, March 15, 2015

Easy Sunday Baking.....

HELLO!!! Does it seem like I'm shouting at you?? Coz I am!! So excited to be back here!!


Thought I'd pop in on this fine and sunny Sunday arvo to share a very easy, very tasty, very kid-friendly recipe. We eat these little quiches alot. As in....A.L.O.T. If I were a more organised sort of a person and they didn't get scoffed pretty much as soon as  I pull them from the oven these would be perfect to make and freeze...you know, for those all too familiar nights when you get home late and realise there may in fact be nothing to feed your family for dinner. Although let's not just confine these little babies to the dinner table...please...they are great for school lunches (just as tasty eaten cold as piping hot), picnic lunches, after school snacks...heck, even whip one out for breakfast I say...


We are lucky enough to have our own little chickens here who so very generously gift us with delicious warm-from-the-butt fresh eggs every day...I also tend to have a stash of bacon always sitting ready and waiting in the freezer...so these two ingredients added to anything laying about in the veggie section of the fridge pretty much gives us a wholesome well-rounded meal.

So let's get down to business yes??

                                                         Egg and Bacon Mini Quiches
                                                                             

Ingredients

3 sheets Pampas Puff Pastry - thaw these out whilst whipping up the rest
Approx 3-4 bacon rashers - chopped
2 spring onions - chopped
1 large-ish carrot -grated
1 zuchini - grated (I squeeze some of the excess liquid from this too
A cup or so of grated cheese - choose what you like best
6-7 eggs - lightly whisked
salt/pepper
Italian dried herbs


Method

Preheat your oven to 180 degrees

In a large mixing bowl whisk up your eggs. I throw in my salt and pepper here.

Add your grated carrot, zuchini, cheese, bacon, onions and herbs.

Stir everything through...I find a fork works great.


Now your pastry should be thawed and soft...cut each square into four squares...making a total of 12 which you can then tuck and pat into a greased (I just squirt with a can of spray oil) muffin tin.

Now scoop your gooey eggy mixture evenly into each pastry case. You should have pretty much the exact amount of mix for the 12 cases.

Now bung into the oven for approx 35-40 minutes...but do keep checking as we all know every single oven seems to bake differently.


Aaaaand that's about it!!! Pull them out of the muffin tray once they are cooked...eat and enjoy!!!


Of course the real beauty of these is the fact that there really is no limit whatsoever as to what you can throw in them...sundried tomatoes, capsicum and olives...delicious...chicken, cheese and corn...mmmm...every single vegetable sitting in your crisper with some feta...yes please...herbs etc always make an excellent addition too...

Actually please let me know if you do end up whipping up a batch of these...would love to hear what you decide to add!!!

I hope you enjoy...looking forward to getting back here again soon...on a quick side note I have tweaked my Instagram name and am now awhitestyle ..more changes to come but am taking one step at a time!!!
                                                                               
Happy baking peeps...

               
                                                                    Janelle xx